How to Paint Bathroom Tile
- The Roses

- May 8, 2021
- 3 min read
Thinking of painting the ceramic tiles in your bathroom? Do it. It’s simple.
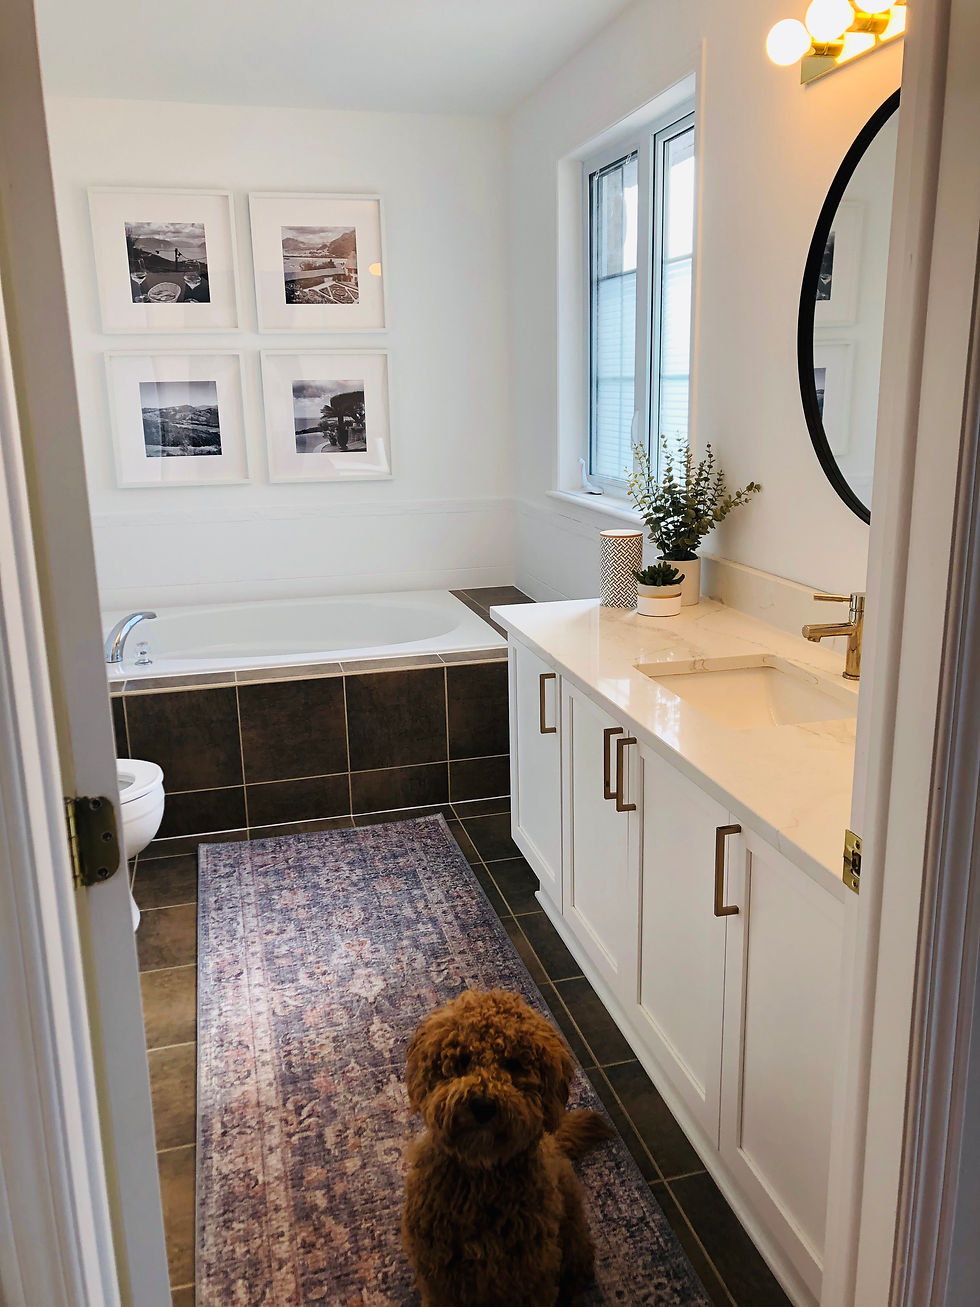
Here’s how I turned this beige bath surround tile...

into this stunning fresh white tile!

Follow these 7 easy steps:
Step 1: Clean your tiles with Krud Kutter Gloss-Off. Wipe it down with a clean wet sponge and let it dry thoroughly.
Step 2: Lightly sand your tiles with a fine-grit sandpaper (around 200 grit).
Remove the dust with a cloth afterward.
Step 3: Tape off areas that you don’t want to paint with painter’s tape.
Step 4: Prime your tile with Insl-X Waterbone Bonding Primer. Apply one coat with a roller. Avoid using a paintbrush as you will see the strokes. If you do need to get into hard-to-reach places with a paintbrush, try to roll over it with a roller right after. The goal is to get rid of the strokes because if not, they will show once your paint dries.
Wait for 3 to 4 hours before applying another coat. I applied two coats of primer.
Step 5: Time to paint! I used Benjamin Moore Bath and Aura Spa (color Chantilly Lace, Matte finish) paint which is good for washrooms because it repels humidity and it is easy to clean. On their website, Benjamin Moore states:
“Durable Aura Bath & Spa provides a protective coating that withstands repeated washings.”
I concur. I would do two coats of paint. Wait at least an hour between coats.
Step 6: Let it dry and cure. I waited a couple of days before taking my first shower (a record time for me). Benjamin Moore states:
For best results, allow a minimum of 24 hours before returning to full service. Painted surfaces can be washed after two weeks. High humidity and cool temperatures will result in longer dry, recoat and service times.
And you're done!
It's been a year since we painted; still no chips, no peeling, no marks...still looking great. I debated painting the brown floor tile and bath surround tiles, but decided not to because they would get too much wear and tear. If you are painting floor tiles instead of wall tiles, they might not hold up as well, especially if you have cats and dogs like us.
It’s worth mentioning that this is the only washroom my husband and I use so it has withstood many, many showers (a few too many for that matter...anybody else showers way too many times in a day?)
Things to know before starting this project:
You will lose your grout lines since they will be the same color as the tile. It becomes obvious that they are painted tiles. There is no hiding it. But personally, I like the look.
Don’t rush it! Let the primer and the paint dry, preferably overnight in between each coat.
Aura Bath & Spa paint is definitely better if you plan on wiping and cleaning your tiles often. However, I prefer the texture and look of the Benjamin Moore Regal Paint.
We did not have any cracked or damaged tiles. If you do, you can use caulk to fix them, let them dry, and then sand.
Some add a clear coat of polyurethane after the paint. I don’t think it is necessary.
Make sure not to miss any paint drips when rolling your paint. I missed a drip on a tile in my shower and it drives me nuts every time I’m in there. It just keeps looking straight at me. Damn you drip, damn you!
You can caulk around the tub to make it look neater once you are done painting. Make sure to use silicone caulk to provide a stronger seal against moisture.
I chose the color Chantilly Lace because I wanted a nice crisp clean white for the tiles. The tiles look great, but compared to the color of the surrounding tiles, my shower looks a lot more beige/dirty white now. Keep that in mind.
Voilà! You are ready to paint your bathroom tiles!
The Roses


Comments